
Palatal Expanders in Atlanta's Chastain Park neighborhood
Widening the upper jaw, no keys to turn
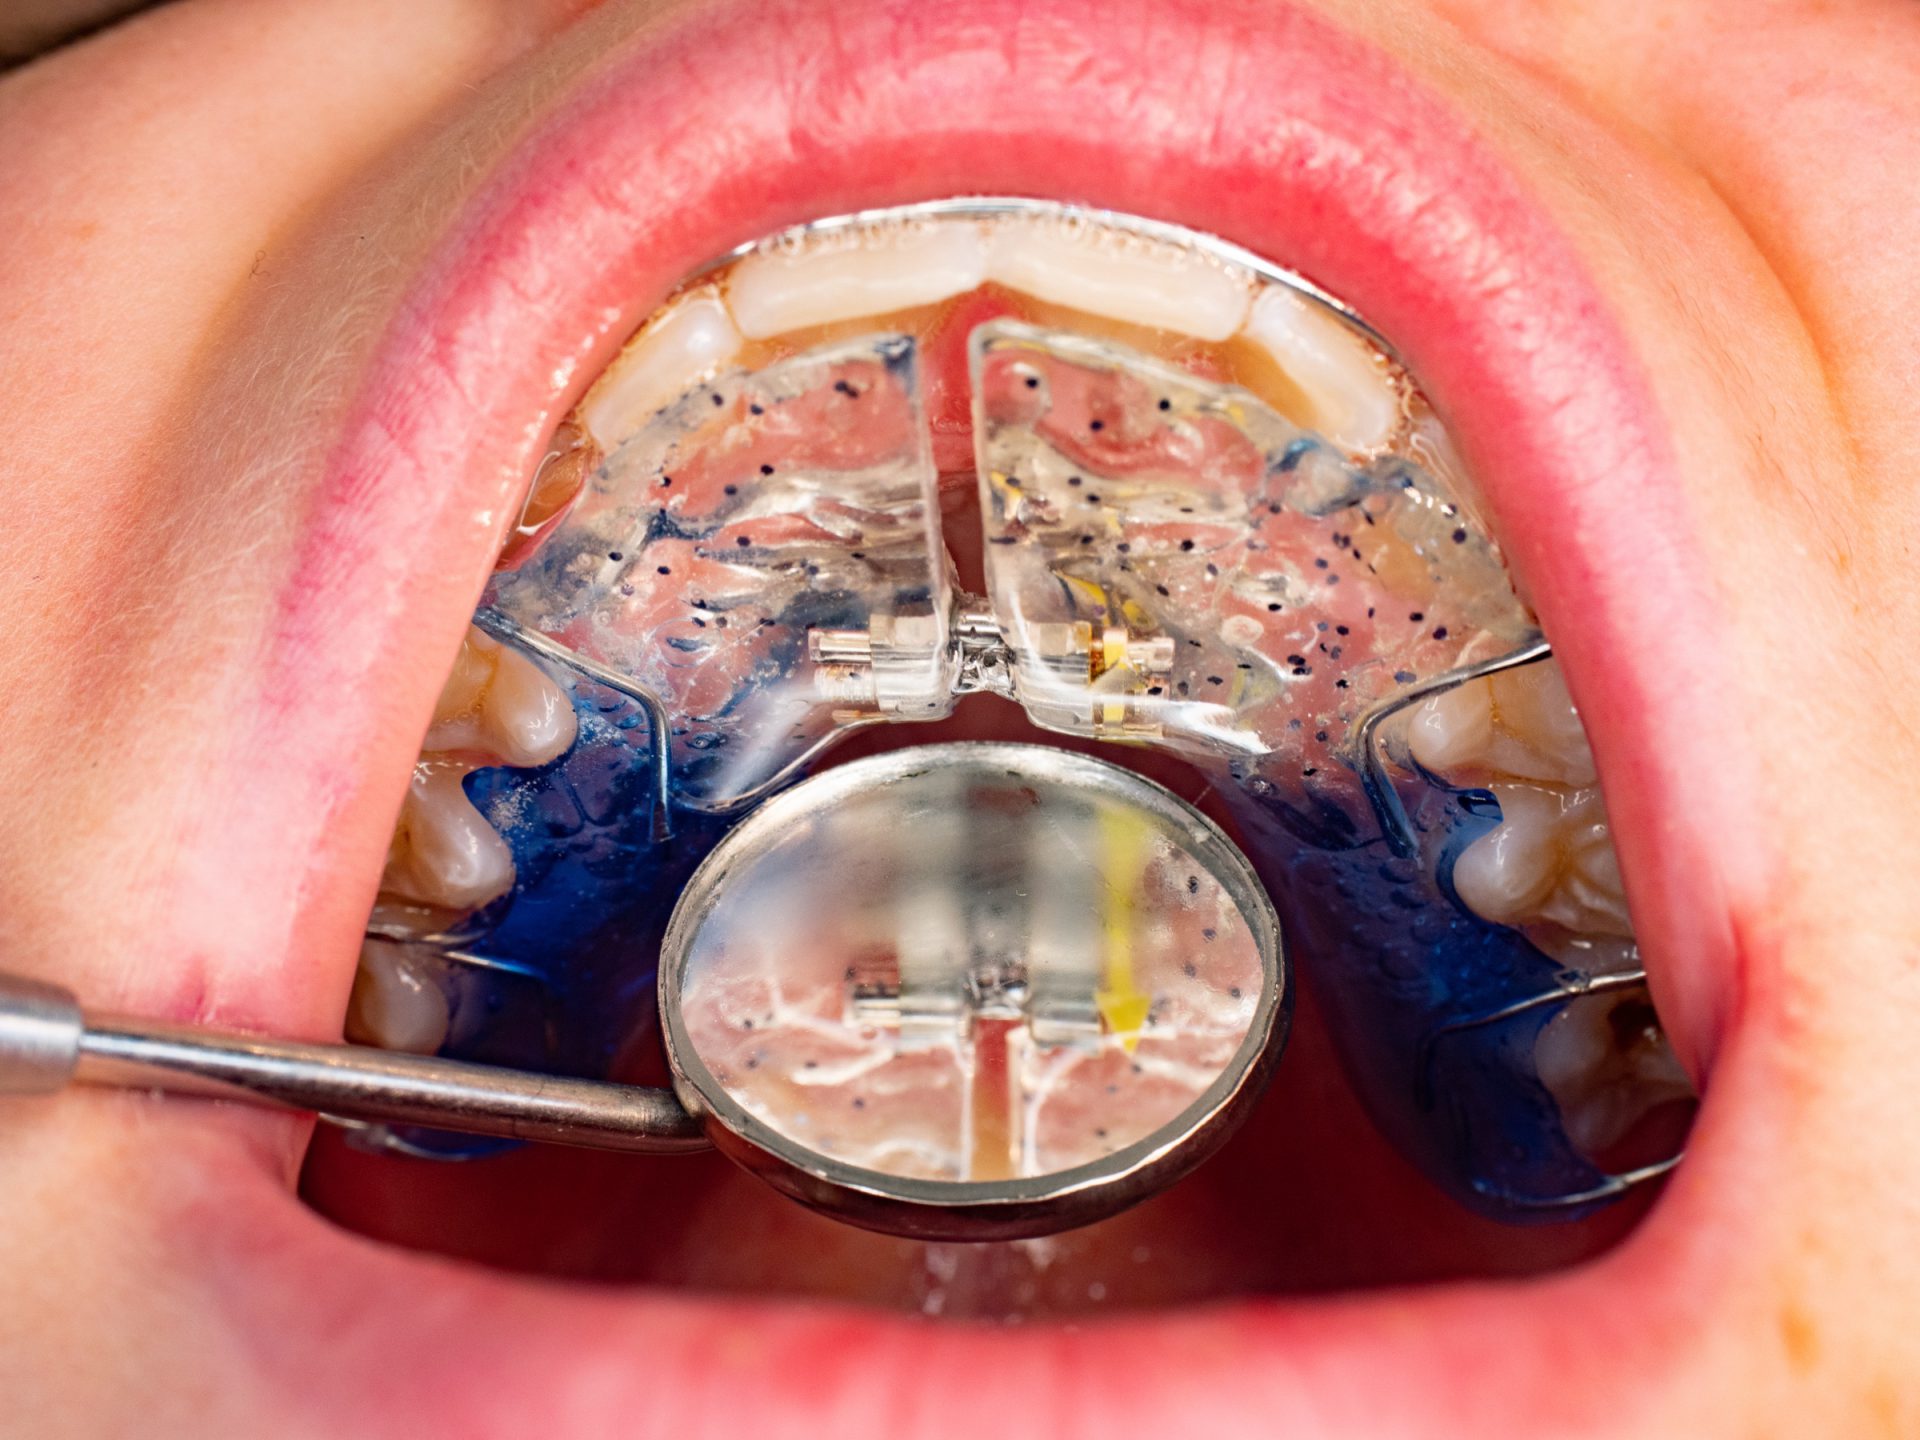
Our patented 3D expander is a fixed appliance that widens the upper jaw while a child is still growing — nothing removable to lose.
What an expander does
When parents talk about expanders, they are usually referring to an upper jaw expander, which gradually widens a narrow upper jaw. The lower jaw can be expanded too. Our team designs each fixed expander to fit the needs of the individual child, and our 3D expander is built to work in all directions rather than in just one.
Our team can also build a tongue guard or a thumb and finger guard into the expander, so a single appliance can address several concerns at once. You can read more about habit treatment on our Thumb Sucking page.
No keys to turn
Why fixed?
In our team’s view, removable expanders — the kind that can be taken in and out — do not predictably work. Expanders with a slot that has to be turned with a key at home are usually turned every other day, which can be uncomfortable and difficult to do. With a fixed expander, every adjustment is made in our office.
What treatment looks like
Our team adjusts the expander at the office every 6 to 8 weeks, so instead of possible discomfort every other day, any soreness comes at those adjustment visits — about three to four visits in all. The expander stays in for about six to eight months, followed by about six months of retention to help keep the results stable.

Two types
Skeletal vs. dental expansion
There are two types of expansion.
Skeletal expansion
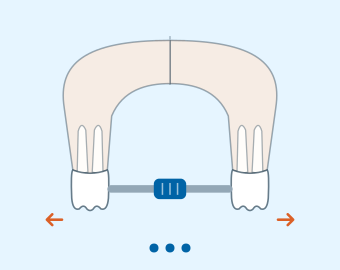
In skeletal expansion, the bones of the upper jaw are reshaped. Skeletal expansion is generally the better result because it is more stable and positions the teeth more ideally over the bone, which is healthier.
Dental expansion
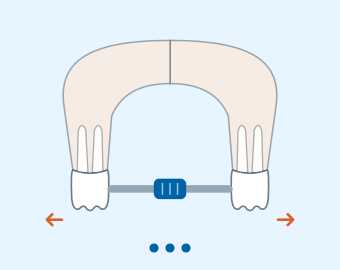
In dental expansion, the bone keeps its shape and the back teeth are pushed outward. Dental expansion works best when the back teeth are angled inward, but because the bone itself does not change, the results are generally less stable.
Timing
The best age for expansion
Research our team follows points to ages 6 to 10 as the best window for an upper jaw expander.
Between ages 6 and 10, the bones of the upper jaw are very malleable, so they respond well to expansion. Before age 10, expansion is roughly 85 percent skeletal and 15 percent dental; as a child gets older those proportions reverse, and by age 17 the ability to achieve skeletal expansion is almost zero.
Benefits
What an early expander can help with
Our team’s guidance lists these benefits of upper jaw expansion for a developing child.
Room for permanent teeth
Expansion can create more room for the permanent teeth and reduce the chance that extractions will be needed later.
Healthier gums
With more space, permanent teeth can come in (erupt) into supporting bone, which supports healthy gums and less recession.
Easier breathing
Expansion promotes improved nasal breathing and has been shown to decrease nasal resistance and enlarge the upper airway. It may also lower the chance of developing sleep apnea.
Tongue and habit correction
Expansion can help resolve tongue thrust, which can create front-teeth open bites and speech issues, and it can be used to resolve thumb habits.
A better jaw shape
A narrow, V-shaped upper jaw can be reshaped toward a normal U shape, which can also reduce protrusion of the front teeth. Properly designed expanders can help correct some underbites, too.
Less time in braces later
When expansion is performed properly, it can significantly reduce the time your child spends in braces as a teen.
What to expect
Getting an expander, step by step
Placement is spread over a few short visits, and our team explains each step along the way. Here is what it looked like for one of our young patients.
- 1
Before placement
The first step is placing small elastic separators between the back upper teeth; they can feel like having those teeth flossed. About a week later, our team fits bands — rings that fit around the two upper six-year molars and attach to the expander — and takes a digital scan of the mouth. The scanner works like a very small camera, and the scan takes about five minutes. The orthodontic lab uses the scan and the bands to make the expander.
- 2
Placement day
On placement day, the expander is attached to the bands with a special glue made only for use in the mouth, which takes about three minutes to set. Our team then reviews care and cleaning instructions and suggests a soft diet for about five days while the tongue gets used to moving food around the appliance. Some soreness is normal at first, but this patient was able to keep up with schoolwork and after-school activities.
- 3
Follow-up
At follow-up visits, roughly every six weeks, our team adjusts the expander and shows you and your child the change that has taken place.
Next step
Schedule a complimentary consultation
Our published guidance also notes possible improvements in bed wetting and, for children with hearing loss, in hearing. If your child is between 6 and 10 years old, request an appointment and we will be glad to talk with you about a complimentary consultation.